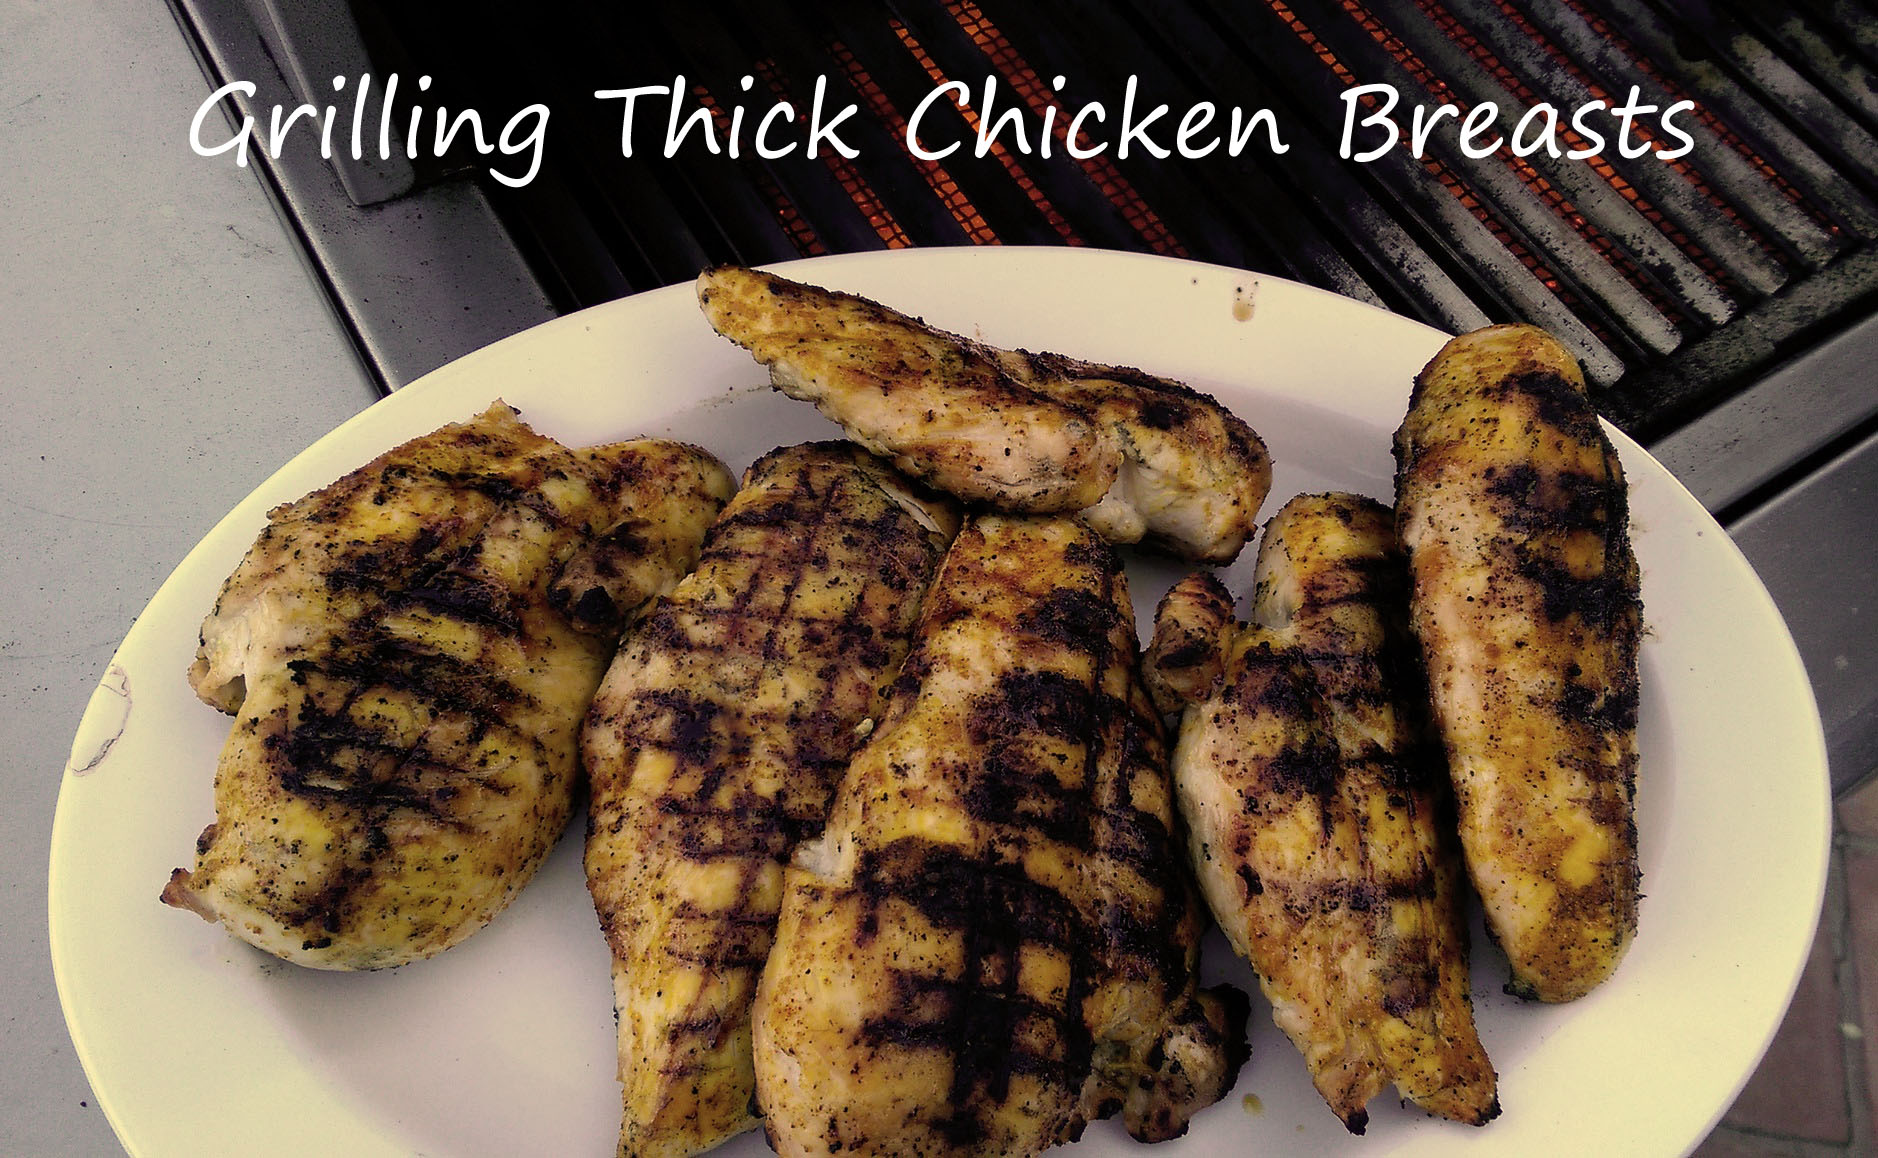
Grilling Thick Chicken Breast on an Infrared Grill

One thing people find difficulty with is grilling thick chicken breast and making sure it's not dried out or under cooked in the middle, but it's not as hard as you think to be able to make juicy chicken breasts on the grill. You don't need any special items, there aren't any secret techniques, you only need to use your grill. Also, feel free to use any marinades or seasonings you wish. In order to grill thick chicken breast to perfection, the answer comes from using good heat control.
When people complain about chicken on the grill they mostly complain about it being burnt or dried out. Most often, these people leave their grill on high the entire time or put the lid down and walk away and then act like it's a surprise when their overcooked food is overcooked. Believe it or not, you don't go full heat the entire time, but you do start off with it. The 1st Step: Sear both sides of the chicken breast for 2-3 minutes. It doesn't matter if you're grilling thick chicken breast or thin chicken breast, this is the 1st thing you need to do. This gives the chicken its bar marks, adds flavor and texture to the outside, and makes it easier to flip over later without it sticking to the grill as much or at all.
At this point, people tend to make mistakes, whether they leave the temperature at maximum, leave it on for too long, take the chicken off too early, or whatever it may be. One thing to remember about infrared is that it is high heat and you should not confused it with other lower heat grills you may have used in the past. Other grills might have needed the highest setting with the lid down, but with infrared grills this should be avoided. The 2nd Step: turn the heat to between medium and low and cook both sides for 5-10 minutes each. The amount of time depends on how thick the chicken breast is, with thicker taking more time and thinner taking less. You might be tempted to put the lid down during this step, but this is not recommended. With the lid down, the temperature inside the grill will increase and it will be similar to leaving the grill on high. Instead, leave the lid up and wait until it has cooked enough. You don't need to guess on this, we have a few ways of telling if the chicken is ready or not.
This last part might be the most important. Some people follow the correct heat control steps and still end up with overcooked or under cooked chicken because they can't tell if it's done or not. Luckily, there are multiple ways to tell if it has finished cooking or not, but unfortunately, it's more art than science. The 3rd Step: a) use tongs to gently squeeze the chicken in the thickest part and feel how much resistance you get. If it feels very squishy, it's underdone. If it's less squishy with a bit more firmness, it should be just right. If it feels more rubbery or tough, it's over done. This method has the major flaw of needing practice and building a feel for it quite literally, but you can supplement it with the other methods. b) use a fork and poke the chicken breast in the thickest part to see if clear juices come out. If these are not clear, then it is not ready yet. This also leaves a little bit to chance, but the last method is sure fire for determining if it's done or not. c) cut into the chicken at the thickest part with knife and pull it apart to see if the inside has cooked fully or not. If it's all opaque and white, it's done, but if part of it is still more pink and a little see-through, it needs more time. While this method is the surefire way to determine if your chicken is done or not, it does ruin the presentation of the item and it's hard to hide forever (sure you can serve it upside down, but after a while it's going to be found as the person eats it). This is why the other two methods are recommended over this last one, but if you can't tell, it's better to do the last one and know for sure than to serve under cooked chicken.

The inside should look like this when it's finished
To recap:
- Sear both sides on high for 2-3 minutes
- Lower the heat and cook for 5-10 minutes, depending on thickness
- Use tongs, a fork, or a knife to determine if the chicken is done or not and cook longer if it is still pinkish in the middle.
